| PFTrack Documentation | Workspace |
Workpage
Creating nodes | Selecting nodes | Activating nodes | Connecting nodes | Special nodes | Manipulating nodes |Node Groups | Other controls | The node menu | Mouse controls | Keyboard controls
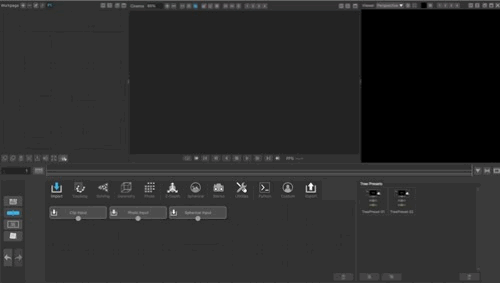
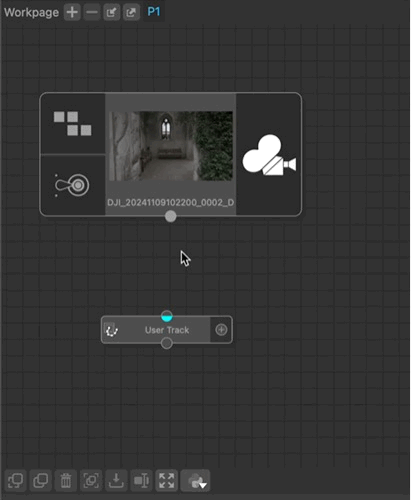
The Workpage is the area where nodes can be combined into a Tracking Tree to perform various tasks such as feature tracking, camera solving and file export.
![]()
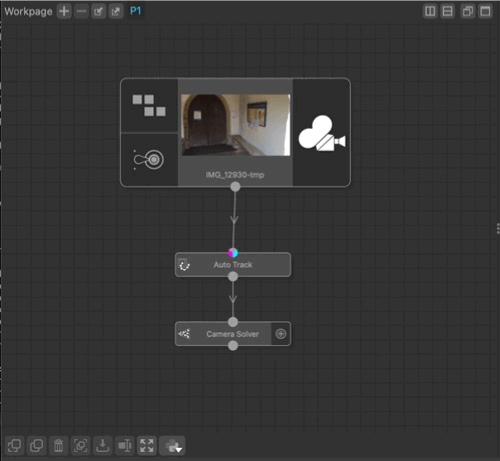
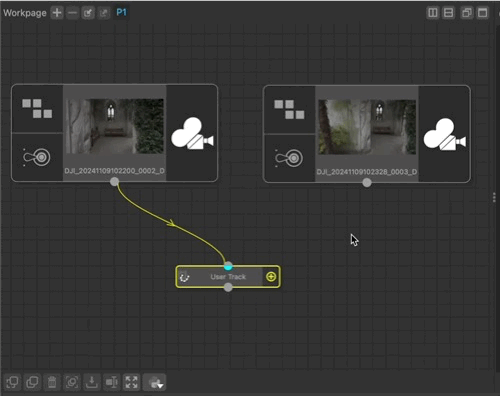
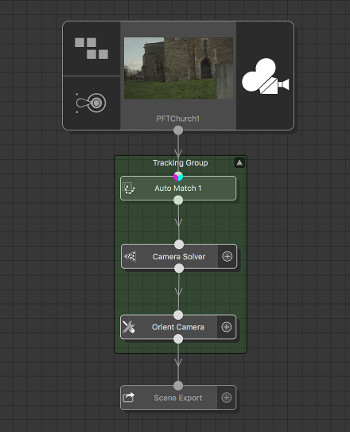
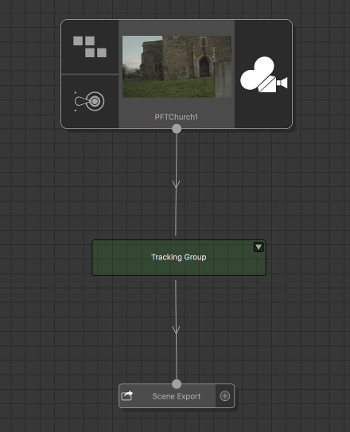
A Tracking Tree is a group of connected nodes, where the connections symbolise data flow. Data is passed down the tree from a Clip Input, Photo Input or Spherical Input node (1), through a combination of other nodes, to either a Scene Export or Footage Export node (2). This data can consist of information such as 2D tracker paths, 3D tracker positions, camera or object motion, lens distortion models and even dense 3D point clouds.
A node can receive data from upstream through its input connector(s), and pass data down the tree through its output connector(s).
Nodes and trees can be created on multiple pages (3). Red lines are displayed along the edges of the tracking tree window in situations where nodes exist but are not visible on-screen.
Nodes can be copied and pasted to reuse a specific set of node parameters, and tree layouts can be stored to disk as presets for reuse in other projects (4).
Multiple Workpages can be created, each containing multiple tracking trees if desired:
 : Create a new empty Workpage.
 : Delete a page. Only empty pages can be deleted.
 : Import an entire Workpage from a binary data file.
 : Export the current workpage as a binary data file.
Creating nodes
Nodes can be created in two ways:
1. With the Node Panel open, select a node category tab to display available nodes, and click-and-drag with the left mouse button to drop a node into the Workpage. This will create the node an immediately activate it to open the node controls. To create a node without activating it, hold the Shift key whilst dropping it.
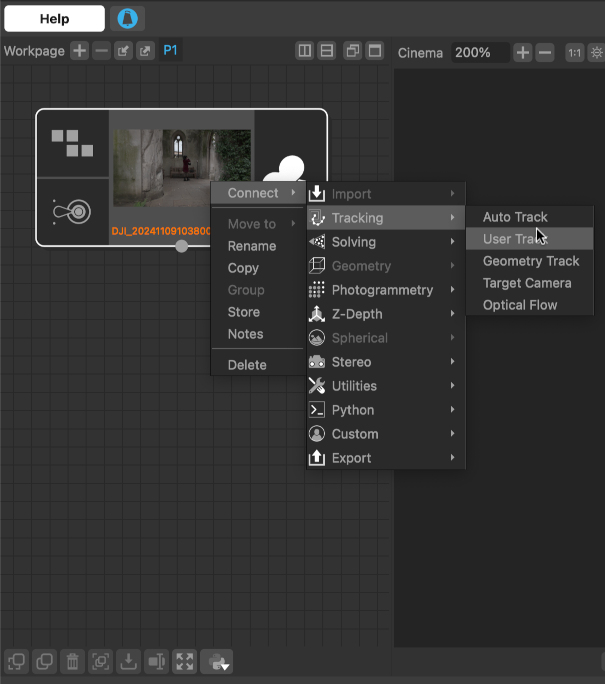
2. When nodes already exist in the Workpage, click with the right-mouse button on a node to display the Node menu. The node categories can are listed in the Create submenu and a new node can be chosen from the menu. If a node is currently selected in the Workpage, the new node will be automatically connected to it when possible.
To display the popup menu without clicking on a node, hold the Ctrl key whilst clicking the right-mouse button.
Selecting nodes
To select a node, click with the left mouse button. Selected nodes are highlighted in white and can be moved by holding the left mouse button and dragging.
Multiple nodes can be selected by clicking and dragging a selection rectangle using the left mouse button. When multiple nodes are selected, moving one node will move all selected nodes.
To de-select all nodes, click with left mouse button in the workpage background area.
Activating nodes
In order to access the controls of a node, it must be activated. To do this, double-click on the node with the left mouse button. This will display the node controls for that node in the lower workspace area.
The activated node is highlighted in yellow. Only one node can be activated at any time.
To display the node panel again, click the Node Panel button at the left-hand side of the lower workspace.
Connecting nodes
To connect multiple nodes together, click and drag on a connector with the left mouse button. This will display a connector line that can be dropped onto a connector for another node.
Connecting one node to another will automatically activate the target node if it is not already active.
Some nodes can be extended with multiple input connections. To add a connection to the node, attach a connector to the + connection point on the right-hand side of the node:
Not all nodes can be connected together. Invalid connections will be shown in red when a connection cannot be made:
Special nodes
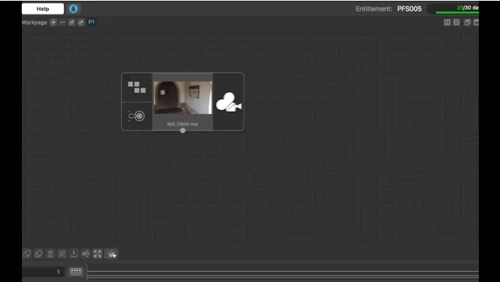
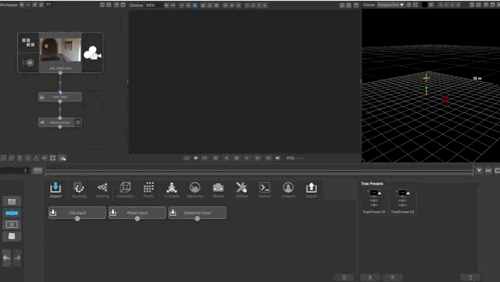
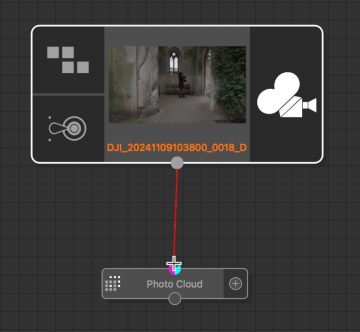
The Clip Input, Photo Input, and Spherical Input nodes have no input connectors. They act as locations to load media and specify camera parameters for use elsewhere in the tracking tree.
Similarly, the Scene Export and Footage Export nodes have no output connectors and are used to export data and other types of media for use in external applications.
Mask nodes are used to assist with node operations by providing masks to exclude image regions from processing. There are two different types of mask nodes:
1. A Mask node generates spline-based masks that are animated over a clip.
2. A Keyer node generates a mask based on colour keying, such as a green screen background, or a blue sky.
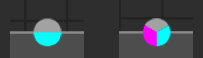
Mask nodes can be attached to any other node that has a purple indicator on an input label.
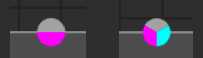
Enhance nodes are used to modify RGB image data, and can be attached to any other node that has a cyan indicator on an input label.
Manipulating nodes
The following buttons are also available at the bottom of the workpage:
-  : Copy selected nodes into the clipboard.
-  : Paste the nodes from the clipboard into the current page.
-  : Rename the current node. Type a new name into the node icon on the workpace and press the Return or Enter key to finish.
-  : Delete selected nodes. This button has to be pressed twice to confirm the delete action.
Node Groups
Multiple nodes in a tree can be grouped together. Once grouped together, the entire group can be collapsed, expanded and moved as a single entity.
-  : Group or un-group multiple nodes.
The colour of the node group can be changed by double-clicking with the left mouse button to display a color selection window. The name of the group can also be adjusted in the Notes Panel.
Other controls
-  : Store the current tree as a preset. This will identify all nodes connected to the currently selected node and store them as an XML preset file.
-  : Re-centre the viewport to show nodes in the tree.
-  : Display a drop-down menu containing python scripts that can be executed to assist with processing operations in the tree.
The Node menu
In addition to the buttons at the bottom of the workpage, many of these functions are also available in the Node Menu that is displayed by clicking with the right-mouse button on a node in the workpage.
The node menu contains the following options:
- Connect : this displays sub-menus that correspond to the different node categories shown in the node panel. Individual nodes are enabled or disabled according to whether or not they can be connected to the node that has been clicked.
- Move to : When multiple workpages are available, this menu can be used to move all selected nodes to a different page.
- Rename : Selecting this option will allow the node to be renamed. Type a new name into the node icon and press the Return or Enter key to finish renaming.
- Copy : This option will copy all selected nodes into the clipboard.
- Group : This option can be used to group or ungroup selected nodes.
- Store : Store the current node tree as a preset.
- Notes : Quickly switch to the Notes panel for the selected node.
- Delete : Delete the selected nodes.
Mouse controls
- Click left-button on a node to select it.
- Double-click left-button on node to select it and display the node controls
- Click right-button on a node to display the node menu to select another node to be created in the current page.
- Click and hold left button to draw a selection area and select multiple nodes.
Navigation
- Click and drag with the right button away from a node to pan the Workpage.
- Click and drag with the middle button to zoom the Workpage.
- Mouse wheel can also be used to zoom the Workpage.
Node connections
- Click and hold left-button on a connector to draw a connection line from one node to another
- Click left-button on a connection to disconnect the link.
- Click and hold left-button and drag one node into another whilst holding Shift key to automatically create link between them (If either connector is already connected to another node, no connection will be made).
Keyboard controls
- / display a small overview window, showing the current location of the viewport.