| Studio / Enterprise | PFTrack Documentation | Node Reference |
Hero Cloud
Usage | Setting up the clip planes | Creating the point cloud | Using masks | Point cloud editing | Display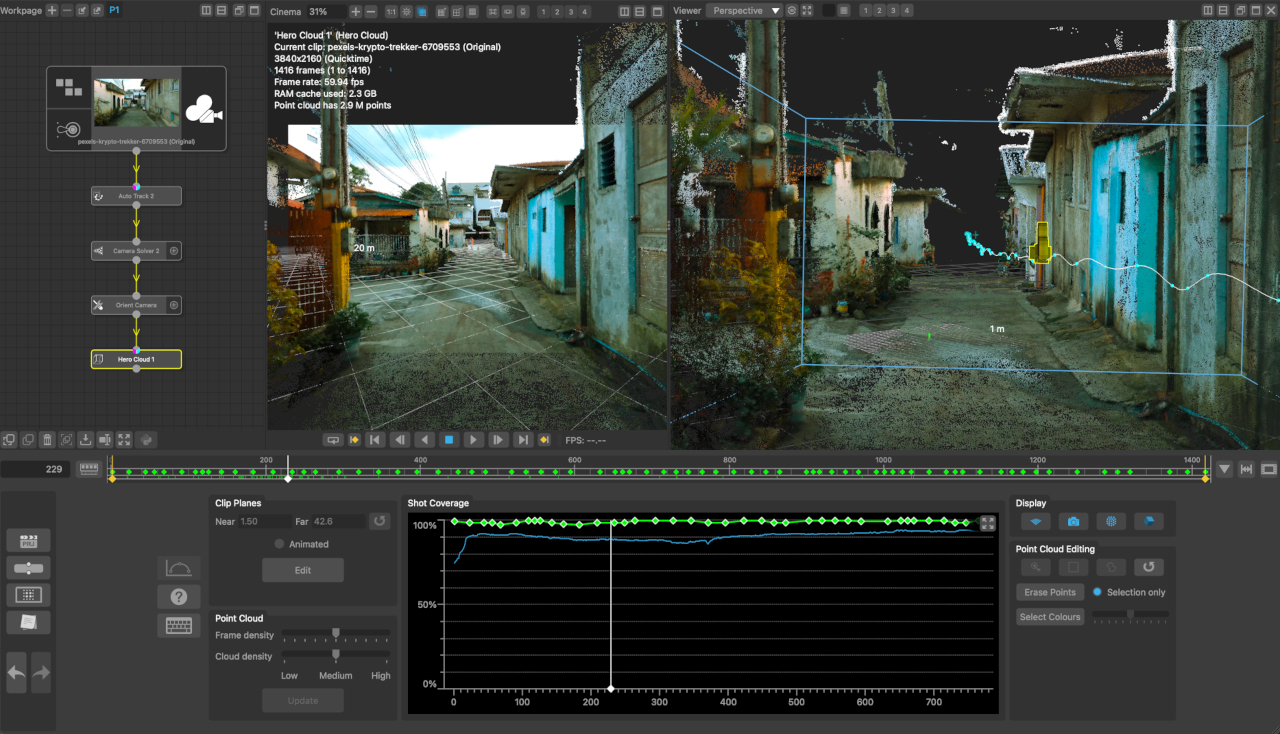
The Hero Cloud node can be used to generate a dense point cloud for a shot that has been tracked and solved using a node such as the Camera Solver node.
The Hero Cloud node will take advantage of OpenCL if a suitable GPU is available. OpenCL support can be checked by looking in the application log, displayed by clicking the log button at the top-right of the main window. A graphics card with a minimum of 4Gb of RAM is required (8Gb recommended). Processing will also take advantage of multiple CPU cores whenever possible in addition to OpenCL GPU acceleration.
Usage
The Hero Cloud node attempts to build a dense point cloud that matches the tracking points, camera and image data for a clip. Note that in order for points to be located accurately, the solved camera must exhibit translation movement - a camera that is only panning and not otherwise moving cannot be used. The following video illustrates how to use the Hero Cloud node to build a dense point cloud:
A typical workflow will be:
1. Track and solve for camera motion using nodes such as the Auto Track or User Track and Camera Solver node. The Hero Cloud node needs a tracked camera and multiple 3D tracking points to operate.
2. Adjust the clip planes using the Clip Planes controls to ensure the 3D tracking points of interest are visible and tightly bound between the near/far planes.
3. Adjust the point cloud frame density slider in the Point Cloud controls until the Shot Coverage graph shows a good likelihood that your point cloud will cover your scene.
4. Build the dense point cloud by clicking the Build button.
After building the dense point cloud, you can adjust any of the parameters and click the Update button to update the point cloud to reflect the new settings.
Setting up the clip planes
The Hero Cloud node attempts to build a dense point cloud that matches the tracking points, camera and image data for multiple frames in your clip, and uses near/far clip planes to define the area of interest:
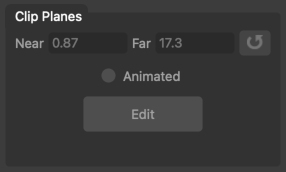
- Near: the near clip plane for the current frame (or for all frames if Animated is not enabled).
- Far: the far clip plane for the current frame (or for all frames if Animated is not enabled).
-  : click the Reset button to reset the near/far planes to their default values.
- Animated: enabling this option allows different near and far clip planes to be used for each frame of the clip.
- Edit: enabling this button allows the near and far planes to be adjusted interactively in a 3D perspective/orthographic viewer window.
In order to get the best results, it's imortant to ensure the near and far clip planes are positioned closely around the part of the scene you want to reconstruct. By default, the near and far clip planes are fixed for your entire clip, and are calculate to best fit the most relevant tracking points.
Tracking points are coloured green when they are inside the clip planes, and red when they are outside. For many shots, the default planes will suffice, but for some types of camera motion you may get better results by adjusting the planes.
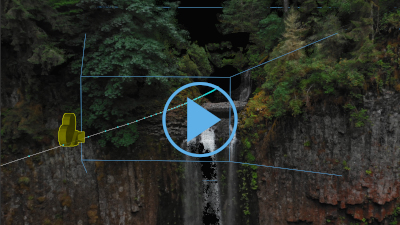
For example, in this shot, the camera moves towards the scene, and then pans right to view a wall. Using fixed clip planes means the near plane is very var from the object at the start of the shot, and the far plane is very far away at the end of the shot:
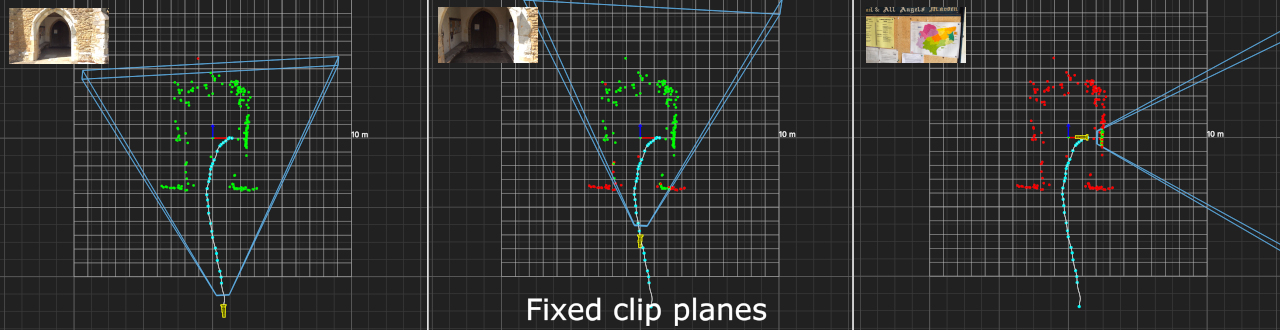
The Hero Cloud node will often produce better results the clip planes are adjusted to better fit the points of interest. In this example, enabling the Animated option for the clip planes means they are automatically calculated to adjust throughout the clip: at the start of the shot, the near plane is much closer to the tracking points, and at the end of the clip the far plane is not extended beyond the wall viewed in the close-up.

If needed, the clip planes can be adjusted manually by typing in the edit boxes, or clicking the Edit button and clicking and dragging with the left mouse button in a 3D Viewer window to adjust the plane.
Creating the point cloud
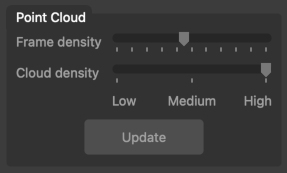
After the near/far clip planes have been positioned, the frames used to build the dense point cloud need to be identified. This is achieved by adjusting the Frame Density slider to select suitable frames from the solved camera:
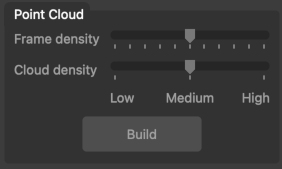
- Frame density: this slider adjusts the number of frames that will be used to build the point cloud. Increasing the number of frames is likely to produce a higher quality point cloud, but will take longer to process.
- Cloud density: this slider specifies the desired density of the the final point cloud. Setting this to High will produce a higher density of points, but will take longer to build and occupy more memory.
- Build: click this button to start building the point cloud. Holding the Shift key whilst clicking will run the build process in the background.
Using a larger number of frames is more likely to ensure the final point cloud covers as much of the shot as possible, but will also increase processing time and the number of points in the cloud.
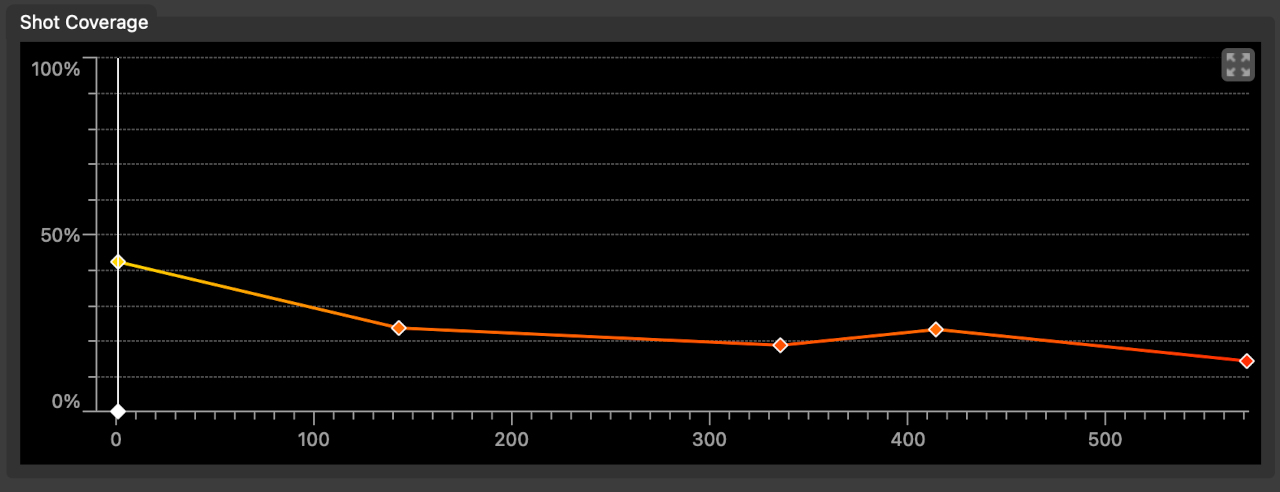
As frame density is adjusted, the Shot Coverage graph will update to illustrate the frames that are to be used, and the predicted quality of the final point cloud. If too few frames are being used (or the camera motion is such that points cannot be accurately located), the graph will be coloured orange or red:
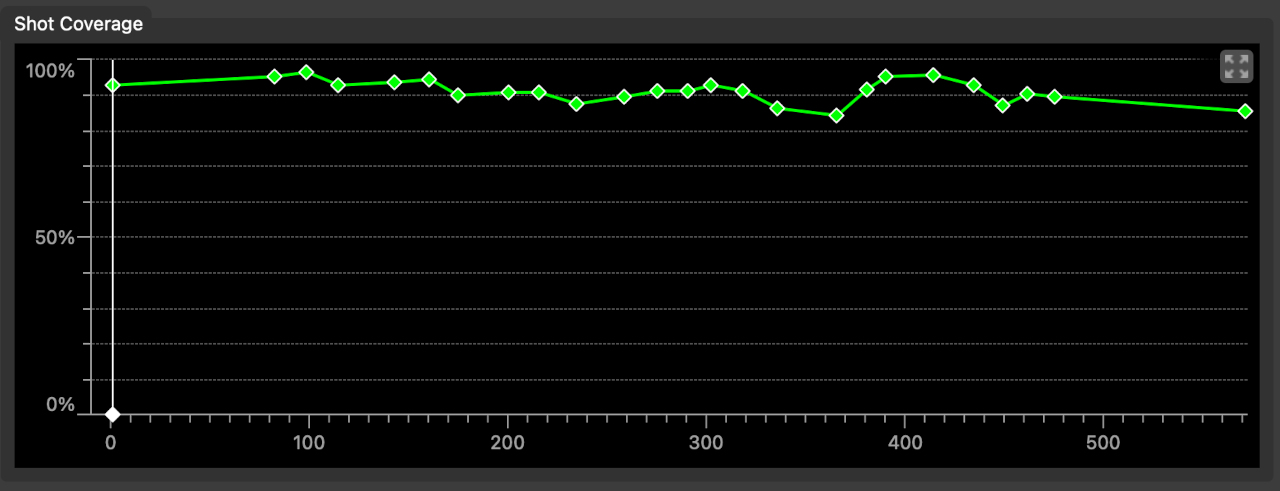
Increasing the frame density will increase the number of frames used to build the cloud, and the graph will be coloured green:
After the point cloud has been built, the shot coverage graph will update to show a blue graph illustrating approximately how much of each frame is covered by the point cloud, with 100% indicating the entire frame is covered:
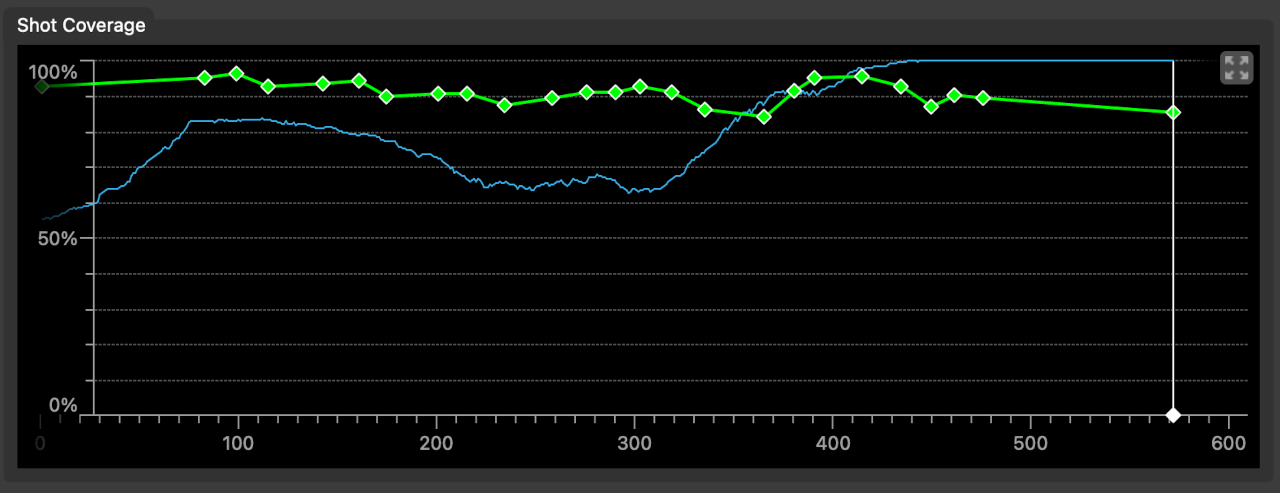
The graph viewport can be changed using the pan/zoom controls available on the middle and right mouse buttons (by default), or by using the mouse wheel. If areas of the shot are not well represented, try adjusting the near or far clip planes, or increase the frame density, and click the Update button to regenerate the point cloud:
Using masks
If necessary, masks can be used to ignore parts of each frame whilst building the point cloud, such as background areas or moving objects. Attach a Keyer or Mask node to the Hero Cloud node to create and edit masks.
Point Cloud Editing
After the dense point cloud is built, you may want to remove any eroneous points and clean up the cloud before passing downstream for export. This can be done using the Point Cloud Editing tools:
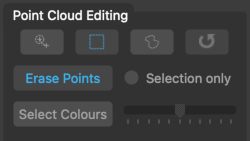
- Erase Points: click this button and use an edit tool in a Viewer window with the left mouse button to erase points.
- Select Colour: click this button and use an edit tool in a Viewer window with the left mouse button to select colours. The slider controls the range of colour selection. Holding the Ctrl key whilst selecting to extend the selected colours.
- Selected only: enabling this option means the Erase Points operation only erases selected colours.
-  : click the Brush button to paint using the brush tool. Hold the Shift key whilst dragging with the left mouse button to change the brush size.
-  : click the Rectangle button to use a rectangular marquee tool.
-  : click the Lassso button to use the lasso tool.
- : click the Reset button to undo all point edits and restore the point cloud to its original state.
Points can be erased directly, or by first selecting them by colour, and then erasing some or more of those selected points. This can be useful to remove unwanted colour fringes around object edges.:/p>

All selected points are draw in magenta.
Display
-  : Toggle display of the ground plane.
-  : Toggle display of the camera and near/far clip frustum.
-  : Toggle display of the point cloud.
-  : Toggle display of the point cloud colours.
Default Keyboard Shortcuts
Default keyboard shortcuts are listed in the Keyboard and mouse section.